Time to get this blog moving. My first priority is to be able to take at least mediocre pictures, so I thought I'd have a crack at making a light box. I had a google, poked around a bit and found a number of 'how tos'. In the end I pretty much followed the gist of
this one with some improvisation thrown in (I didn't have any muslin and had no intension of buying any so I used tissue paper left over from christmas). I think the pictures summarise the construction process fairly well so without any further ado...
 |
| Grab a cardboard box and cut the front off (I cut the bottom of as well because I couldn't find a box the right size). |
 |
| Cut holes in 3 sides (top and sides). I used a 2cm square to speed up the marking out process, just put it in the corner and mark round it, then use a ruler to connect the squares up. |
 |
| The light box with the bottom added. |
 |
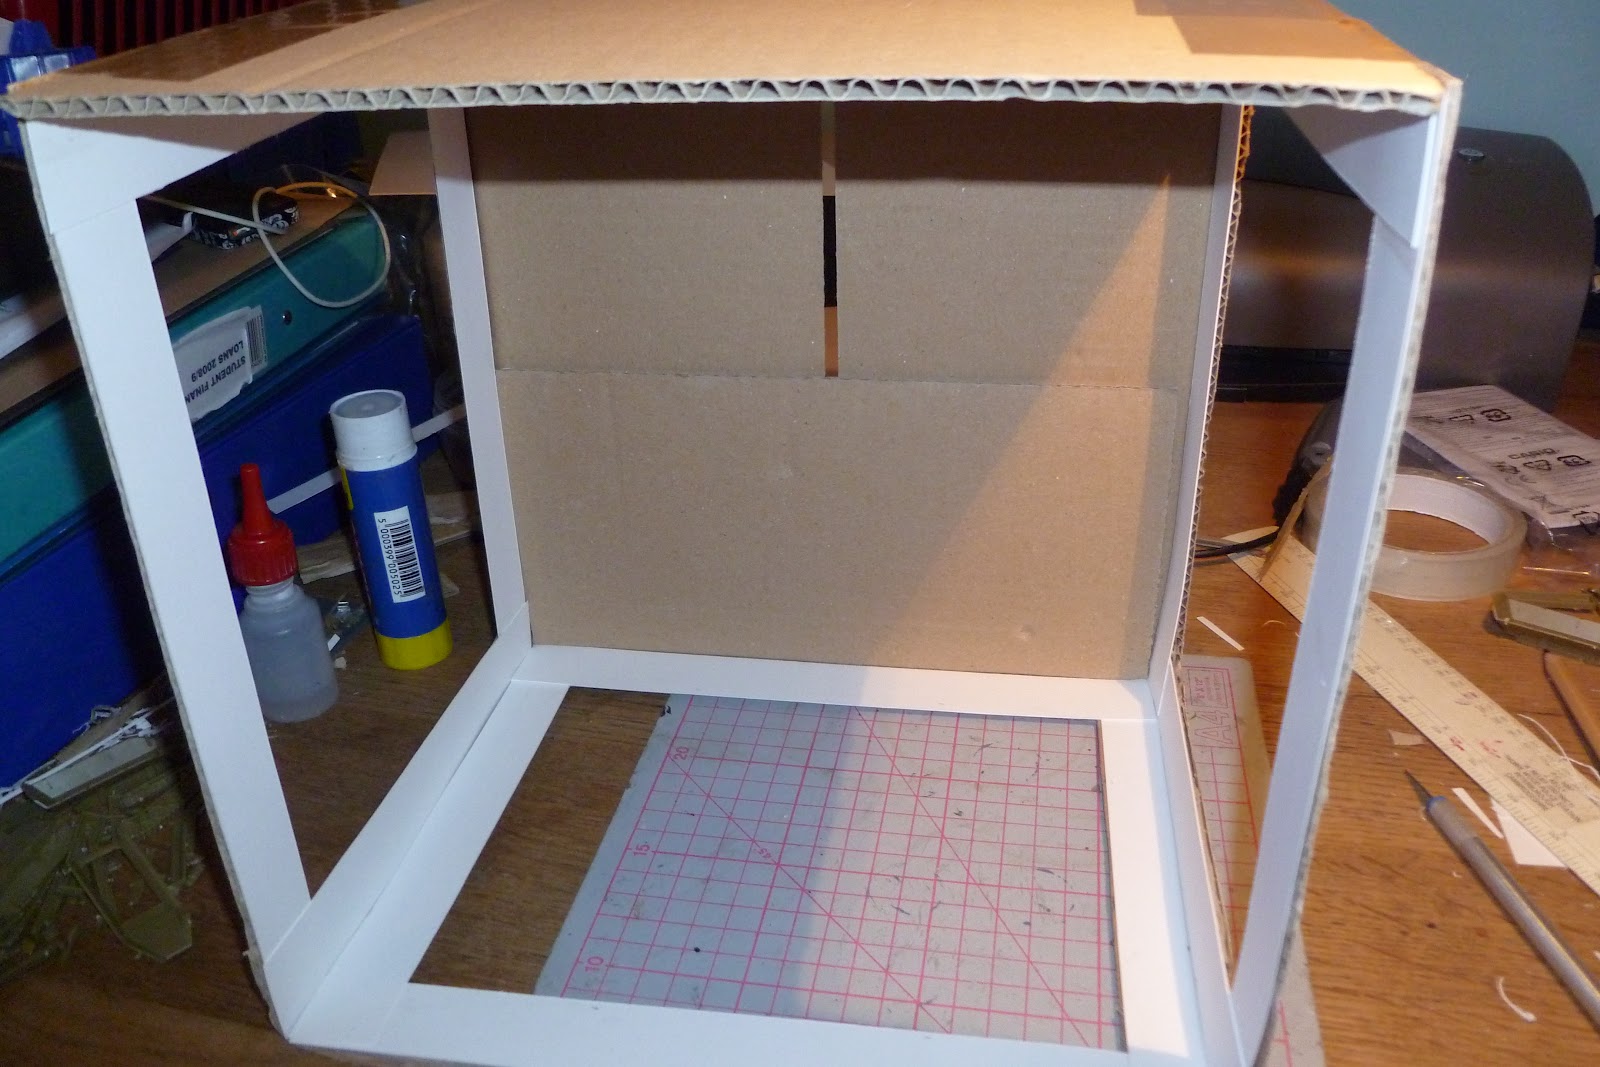
| The interior covered in white card. |
 |
| The complete box with the curved back-piece added and tissue paper taped over the holes. |
 |
| A close up of the rear curve. This is what creates the seamless backdrop associated with light box photography. |
 |
| The finished (sort of) rig. The left-hand lamp has a 'daylight' bulb that creates a white, full spectrum light. Unfortunately, due to the retardness of EU law, I couldn't get a 100W bulb (they're banned) so I got a 60W instead. This doesn't really produce enough light. The right-hand lamp - which I later decided not to use in the end - is a Halogen lamp, unfortunately its light is too yellow for taking good photos. |
In the future I plan to get hold of some proper lamps for this rig to finish it off properly, the ones above are just temporary. I'll probably need two seeing as the bulbs lack power. That or better bulbs. Anyway, that can wait for a few weeks until I move back to London for next term at uni.
I've taken a few (nearly a 100!) photos using this rig and my brother's lumix digital camera. This camera isn't the best for macro photography but does the job ok, if I want better results I'll need more light (on the way) and a better camera/lens (unlikely given lack of any form of income until I have gainful employment). I'm planning on putting up a lot of these pictures over the next few weeks as part of various WIPs and to show off (well, expose) the few paint jobs I have finished.
Here's a photo I snapped using the rig. Adios.